Floating Shelves - How to Optimize Floor Space while Saving Money
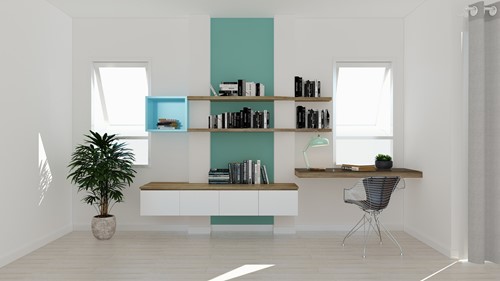
Floating shelves offer your space a more streamlined look. Your walls seem less cluttered, which allows your focus pieces to take center stage.
Because floating shelves require less space than traditional shelves, you can put them anywhere all while maintaining your floor space below. They can be any length you choose -- within reason. You can even work around more permanent features like a fireplace, doorway, outlet or window.
You'll be surprised just how easy and affordable it is to install floating shelves and home much they'll delight guests and prospective homebuyers alike. You'd expect something this elegant to require specialized tools and a lot of engineering knowledge to avoid collapse. But follow these simple steps and you'll be enjoying your own in no time.
What you'll need
- Floating shelf brackets
- 20mm paddle drill bit
- Electric drill - *Pro Tip* Borrow. Don't buy unless you do projects like this frequently.
- Stain, poly & brushes
- Palm sander
- Your hardwood of choice - Poplar, oak, maple, walnut or cherry works great.
How to create floating shelves
Here's your step-by-step guide.
Measure your space
Determine how large to make your shelves. To achieve a floating effect, avoid stopping them right at the edge of other features. Give it some space.
*Pro tip* - Mom & Pop hardware and lumber stores will often cut the wood for you, so you don't have to worry about getting a saw.
Drill holes for brackets
Each bracket has two 6-inch steel rods. Measure the halfway point between them and mark the wood where it will be against the wall. Drill a 1" wide hole into each shelf edge, 7" deep.
Sand & stain
It's time to sand and stain. This process is very straight forward. But do this outside because sawdust will fly everywhere. Sanding not only smooths any rough spots. It also helps the shelves hold a more even stain for a flawless finish.
*Pro tip* Test your stain on an extra piece of the same wood. Stains can be unpredictable depending on the hue of the wood, how it absorbs the dye, etc. You may need to mix two stains to achieve the desired darkness and color.
Find the studs & install brackets
Install brackets directly into the studs, spaced apart to align with the holes that you drilled into your shelves so that the brackets slid easily into those holes.
Arrange your shelves
Place your shelves over the wall brackets. Because of their design, floating shelves can hold significant weight. But that defeats the purpose. Less is more on a floating shelf. So plan and arrange pieces that accentuate each other.
That's how to build a floating shelf. Follow our blog for more helpful home maintenance and design tips.